
Sourdough Bread

I am not an expert at making sourdough bread; nevertheless, it is always fun and relaxing to record my creations one way or another. Additionally, sharing the adventurous steps throughout the entire process is the main goal of my baking journey and vibes.


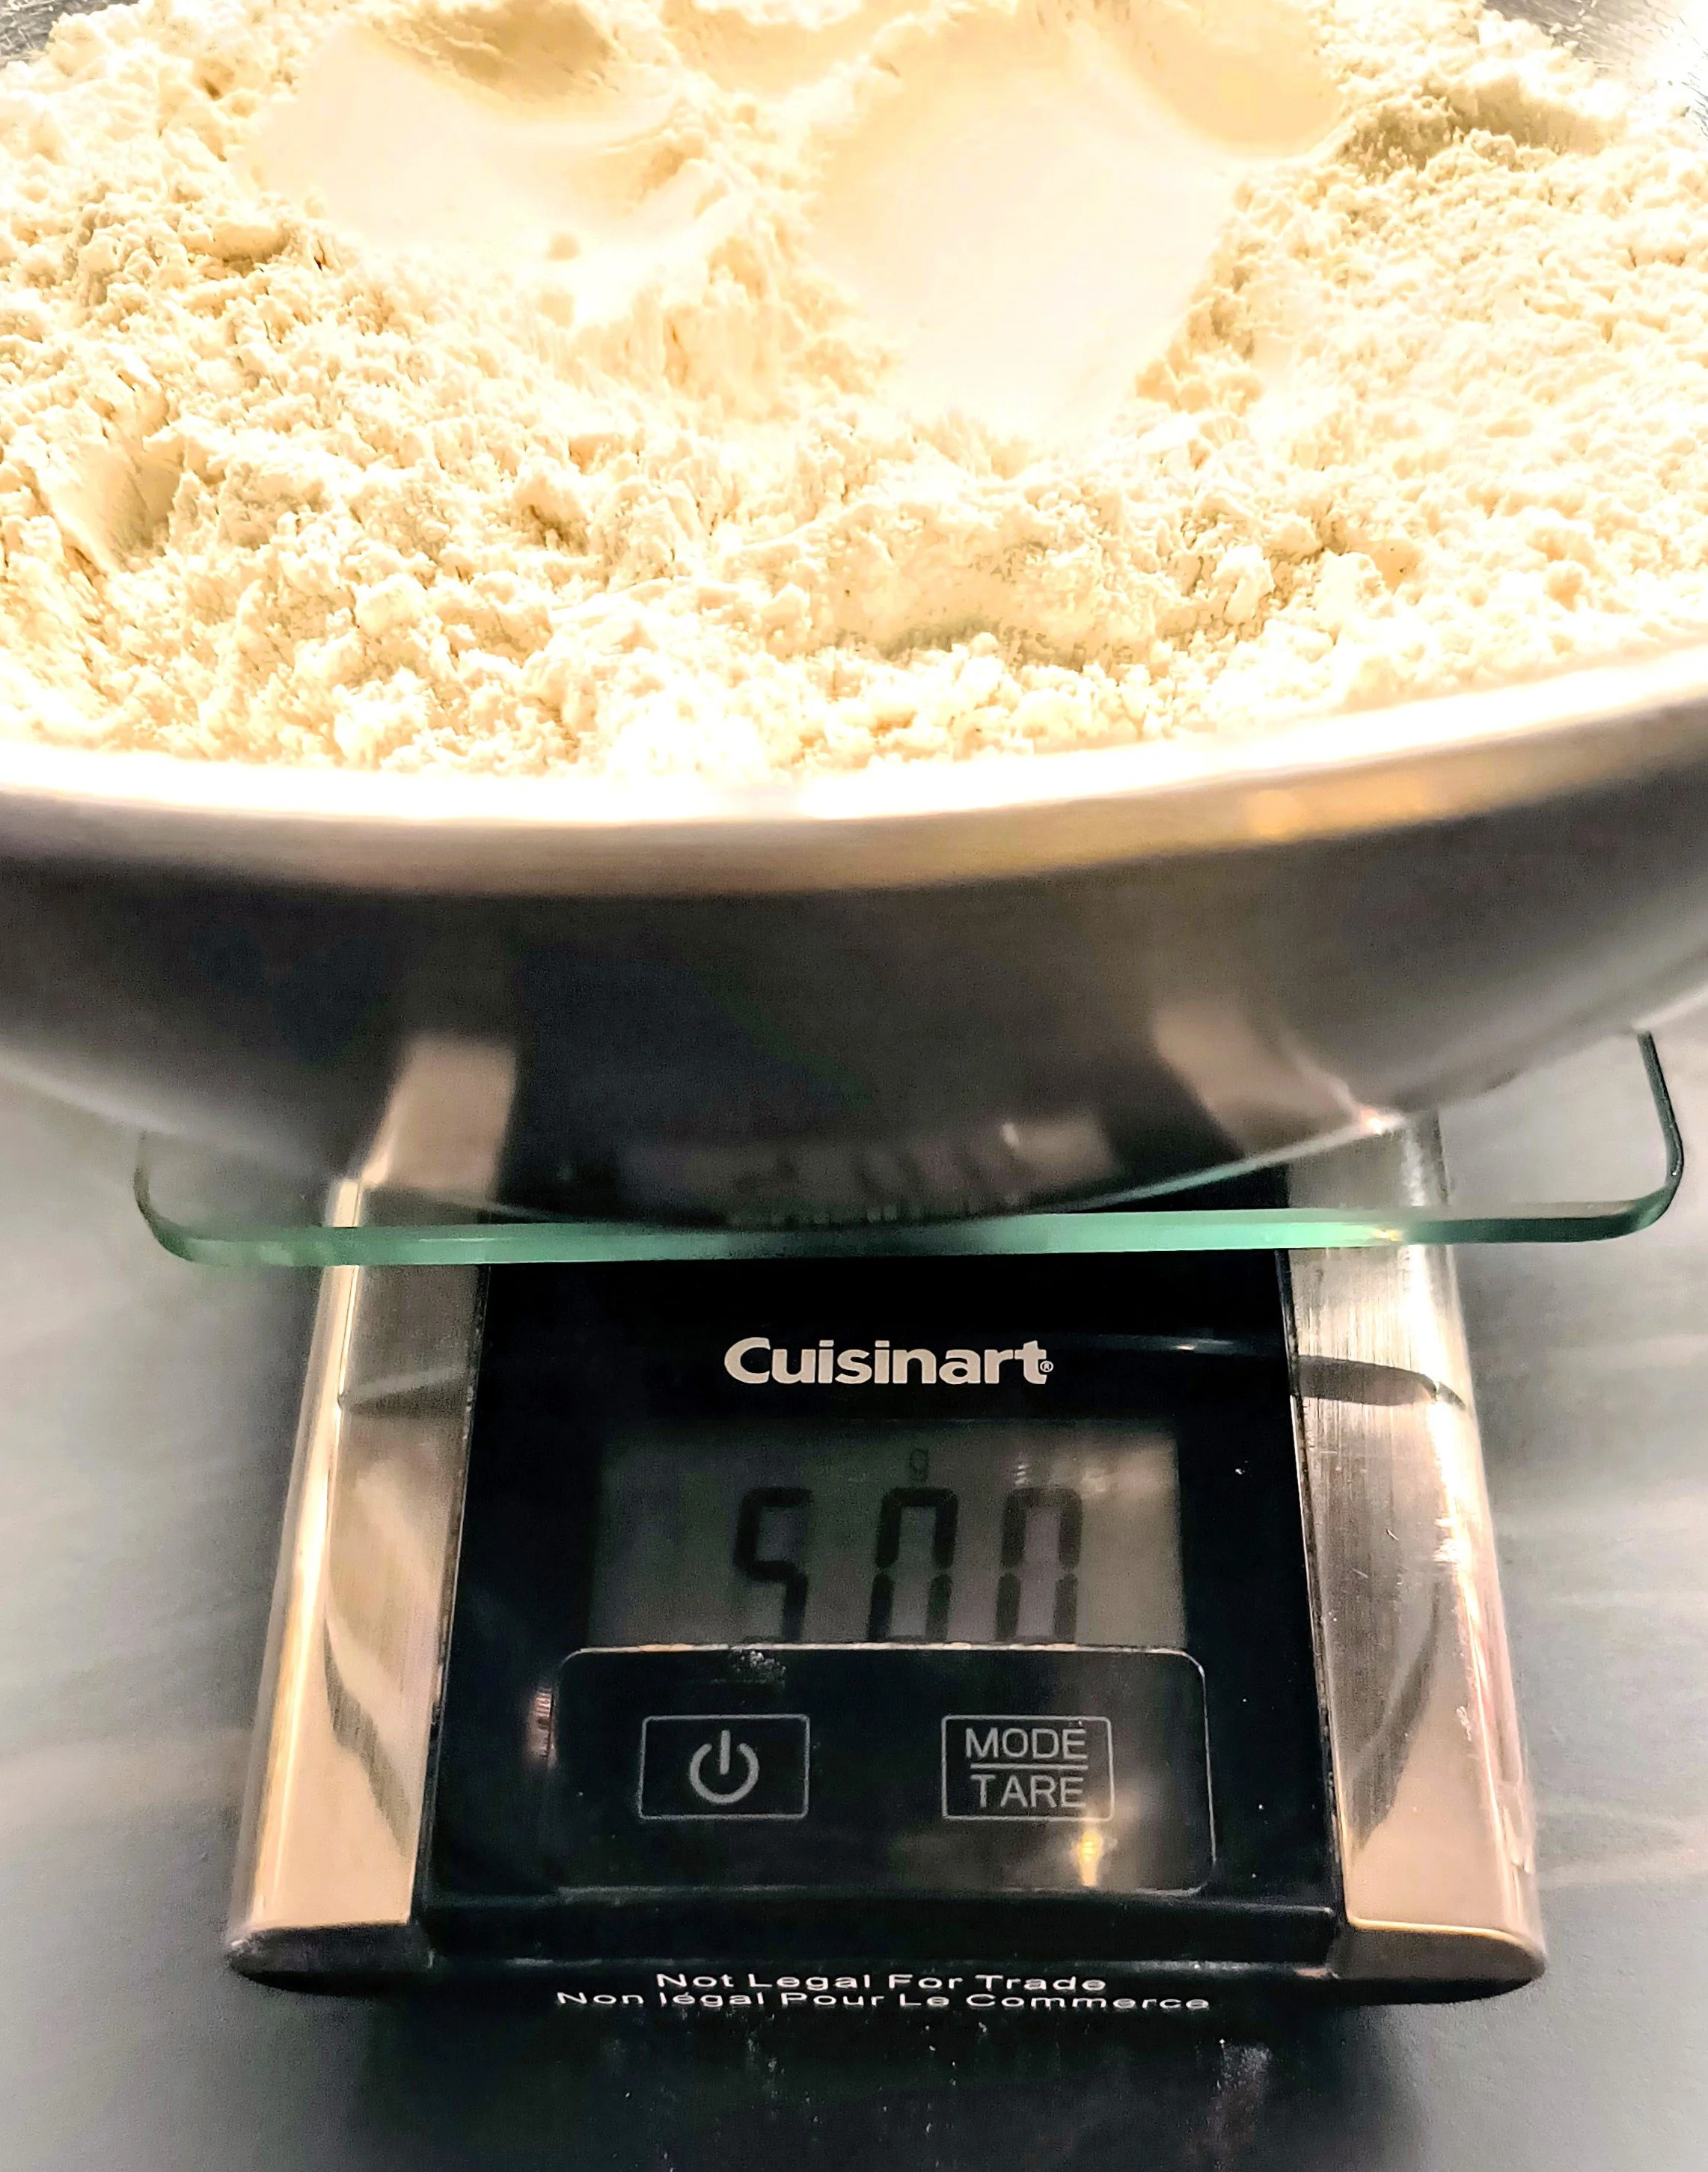
Simple but significant ingredients, including bread flour, salt, water, and a sourdough starter, come together easily and effortlessly to create a delicious and wholesome loaf.
1- 500 gm unbleached flour
2- 300 ml water
3- 2 tablespoon salt
4- a bread bakery basket
5- 80 gm sourdough starter

1- Mix 200 ml of water and flour in a large bowl. Use a dough whisk to combine the ingredients thoroughly, then let the mixture rest (autolyse) for 30 minutes. The dough will appear shaggy and rough, but this is completely normal during this stage.


2- Begin by putting the flour into a stand mixer. Use speed 2 to blend the ingredients evenly until the dough becomes softer. Next, add the starter and mix it thoroughly. Then, incorporate the salt along with the remaining 100ml of water to complete the mixing process. From my past experience, mixing the dough well before fermentation helps it rise more perfectly. This is my personal preference, although I will leave the choice of no-knead method up to you.


3- Pull the dough out gently from the mixer, then wet both of your hands with water and carefully shape the dough into a rough round shape. It doesn’t need to be perfect at this stage, so don’t worry too much about the form. Allow the dough covered and rest for at least 45 to 60 minutes before proceeding with the stretch and fold process. This resting period helps relax the gluten and improves the dough’s texture.
4- Shape the dough using both hands or a bakery scraper by gently stretching it upwards. Then, turn the dough and fold it over toward the center. Next, give it a light turn, and fold over the next section of the dough to create a slightly rounded shape. Do this process accordingly to every 30 minutes for 4-6 times, for sure bulk rise in between.This process of stretching and folding helps build surface tension, which is essential for achieving a better oven spring during baking.


5- Turn the dough out onto a lightly floured surface, smooth out the edges and put into a floured bread bakery basket , place the smooth side facing down the basket , wrapped the top and cover .
6- Sourdough takes a longer time to prepare compared to yeasted bread, so I usually prefer starting the process in the evening. This way, I can let the dough ferment overnight, which feels more relaxing and gives me plenty of time to let the dough rise naturally. It’s a slower, more enjoyable approach that fits well into my routine.


7-I usually like to place it in a cool spot in my kitchen rather than putting it inside the fridge. This approach works better for me and suits my personal preference. However, everyone has their own way of storing things, right ?😎
It is a beautiful sunrise the next morning, and I usually enjoy my breakfast peacefully before preparing the baking ingredients. This is always the most exciting moment of the whole adventure, as it marks the beginning of a delicious and creative process.


8- After the dough has fully proofed and risen to the perfect size, gently turn it out onto a piece of parchment paper. Using your own style and creativity, score the top of the dough—remember to be quick and confident with your cuts to help the bread expand beautifully while baking. Next, carefully transfer the scored dough, still on the parchment, into my favorite Dutch oven. To start, bake with the lid securely on at an oven temperature of 450°F. Place the Dutch oven on the center rack to ensure even heat distribution and bake for about 20 minutes. After this initial bake, carefully remove the lid to allow the crust to develop a lovely, crisp texture. Lower the oven temperature to 400°F and bake for another 20 minutes or so, keeping a close eye on the bread’s color. Aim for a deep, golden-brown crust that meets your personal preference, which will indicate that the bread is perfectly baked.
9- Transfer the freshly baked bread carefully to a wire rack and allow it to cool completely for at least 1 hour before slicing. It is important not to rush this step, as cutting the bread too soon can result in a gummy texture, preventing it from setting properly. Patience during this cooling period ensures the best texture and flavor in your loaf.


Dipping this creation into a mixture of rich olive oil and tangy balsamic vinegar is an absolute taste of heaven. The combination enhances the flavors beautifully, creating a delightful experience for your palate.


